THE OFFICIAL WEBSITE OF THE HAMMER’S SLAMMERS
THE CRUCIBLE RULES SYSTEM HANDBOOK


GO BACK TO PAGE 9

Page 10
John Treadaway - June 2020
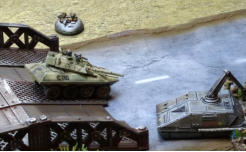
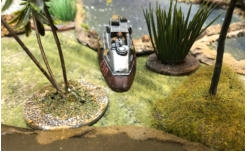
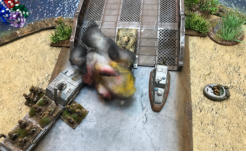
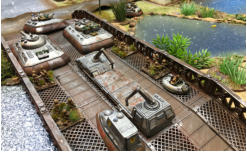
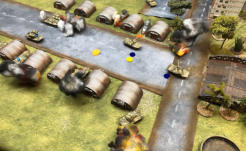
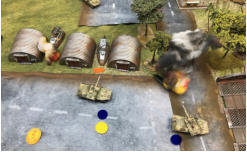
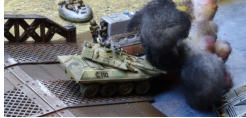
The Bridge at Kronstadt
All photos by John Treadaway & Henry Hyde
Click thumbnail to enlarge
Conclusions
As it turned out, flexing the scenario designed
originally for 19th century warfare was no real
effort: a bridge is, after all, a bridge. The most
important part for me was making sure that the
vehicles and infantry did not – in some way –
sabotage the spirit of the original scenario.
I did a swift calculation on points (for whatever
that’s worth...) and decided that my hunch that
the Slammers were ever so slightly ‘outmatched’
was right. However, points be damned, this is a
scenario and both sides had different victory
conditions.
Sure the Slammers could get the Commandos
to break because they could – and did – do
massive damage to them: the Commandos lost
a third of their force. Sadly for the Slammers in
this game the only morale test the Commandos
had to make after taking those big losses, they
actually passed and stayed in the field. But
though outnumbered 2:1 the Slammers could
also win the game by just blowing the bridge.
That just didn’t happen!
John Treadaway
2020
