
THE OFFICIAL WEBSITE OF THE HAMMER’S SLAMMERS
THE CRUCIBLE RULES SYSTEM HANDBOOK


GO BACK TO PAGE 5

Page 6
GO FORWARD TO PAGE 7

John Treadaway - June 2020
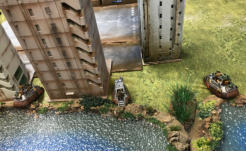
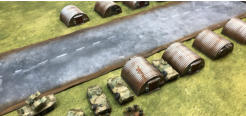
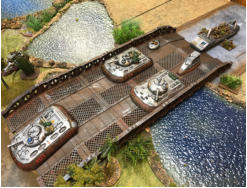
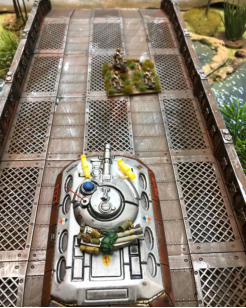
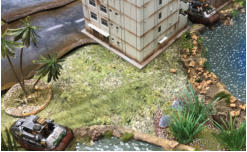
The Bridge at Kronstadt
All photos by John Treadaway & Henry Hyde
Click thumbnail to enlarge
Victory Conditions
For the Commandos, just a single TU of
infantry or a vehicle across the river is a win for
the Clark’s forces.
For the Slammers, they just have to stop the
Commandos: destroy them, break their morale
or – if necessary – blow the bridge, irrespective
of their own losses. This will constitute a
Slammers victory.
Our Game
Henry deployed his Slammers forces on the
eastern edge of the roughly 6ft by 4ft6in table.
He had two good leaders and therefore a decent
supply of Leadership Points to get his troops to
do lots of what he wanted. As the Clark’s
Commandos were not on the table at the start of
the first turn, Henry split his force largely in to
two, though he mixed his detachments up
somewhat. He swept five Combat Cars around
the northern flank, as they could cross the river
independent of the bridge. However, in his
centre he lead his trio of blower tanks over the
wide bridge itself as an armour wedge. This
armoured spearhead protected the engineers
and other vehicles behind from direct fire. They
were led, however, by the skimmer mounted
‘dragoons’ to probe forward in a recce role.
At the end of the first turn, one randomly diced
Commando detachment arrived at point 3 and –
sadly for me – that random selection meant it
was the Mechanised Infantry. These doughty
chaps armed largely with rifles in APCs could do
little against the three blowers that faced them
head on so they debussed and took cover
amongst the sheds south of the road and
awaited reinforcements.