
THE OFFICIAL WEBSITE OF THE HAMMER’S SLAMMERS
THE CRUCIBLE RULES SYSTEM HANDBOOK


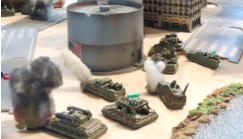
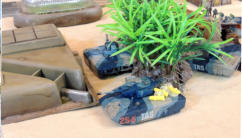
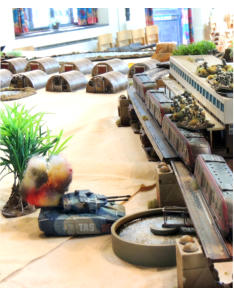
TAS still advancing...
On the opposite wing - and despite being jumped (without success) by
more Hiroseki buzzbomb teams hiding in the green houses (who paid for
their failures with their lives) the TAS lost another HALO tank to a side run -
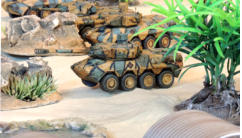
and side shot - from a Sohei tank. The Apex even lost their Colonel to
massed ATGW fire and some reach echelon infantry to mortar attack from a
Commando Rinkhals MLRS, but it was to no avail.
Denouement
In the end we had been playing for about four and a half hours - not
allowing for set up time and socialising: twelve detachments is a lot for just
two players! Mikes forces were not quite at the HQ but we decided to finish
the game but - 'hurry' a last move. We checked that Mike would have won
the intitiative again (which he did) and assumed that he could move at
least two TAS vehicles to pull-up outside of the HQ. I had very little to try
and stop the beasts with: I'd lost most of the heavier Command weapons
and only had two remaining tank destroyers within range with the so I just
bowled my attacks there and then... and failed them both.


Fighting on the planet of Testimonial


