
THE OFFICIAL WEBSITE OF THE HAMMER’S SLAMMERS
THE CRUCIBLE RULES SYSTEM HANDBOOK


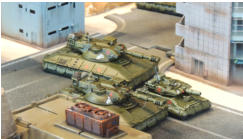
TAS advance
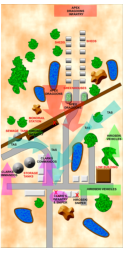
The Apex forces now made full use of the 'Follow Me' and 'Charge' rules to move their
vehicles forward as quickly as they could, simultaneously debussing their infantry on their
start line (figuring to use their command leadership points to help with organising and
galvanising other units). But - while this was going on - the TAS put their collective foot
down and coved over half the length of the table by turn three, using all three weapon
systems on board (main gun, secondary tribarrel and ATGW launcher) to regularly destroy
multiple kills in any one turn: first forward elements of the Hiroseki and then Commando
vehicles. But it didn't all go their way!
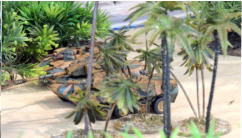
Despite using tribarrels to occasionally swat missiles and the anti-buzzbomb systems to
defeat the lighter shoulder launched systems time after time they took two losses to HALO
tanks: one minor defeat was a tank losing its drive system thereby robbing it of the power to
advance and - as it was in a tight spot - it had quickly run out of targets to destroy
(although it did plenty!). But another HALO tank went down to massed buzz-bomb attack
from Hiroseki infantry hiding in the monorail station: they got enough hits in through the
roof and - eventually - one took the tank out. The TAS also lost their debussed infantry to masses infantry laser fire
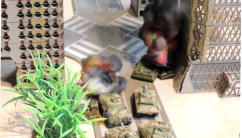
from the same source. And - while we're talking infantry - the Commandos at the top of the building opened fire with
their anti-armour grenade launchers from the top of the HQ building with little to show for it, other than getting shot
to pieces by massed gatling fire from the Apex dragoons...


Fighting on the planet of Testimonial


