
THE OFFICIAL WEBSITE OF THE HAMMER’S SLAMMERS
THE CRUCIBLE RULES SYSTEM HANDBOOK


GO BACK TO PAGE 4

Page 5
GO FORWARD TO PAGE 6

John Treadaway - March 2019
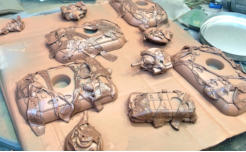
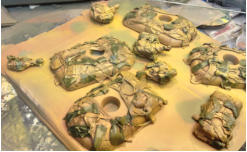
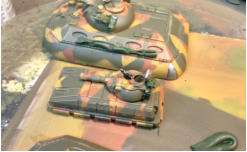
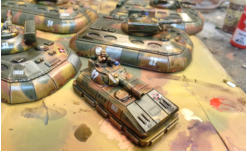
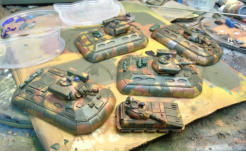
The Waldheim Dragoons: a refit
Click thumbnail to enlarge - All photos by John Treadaway
Details
I left a couple of the M2A2s missile boxes as
just plain green (no camo) figuring they were
field replacements (no decals to be applied to
them either.. but that’s later on).
I hand painted a few skirt panels in metals by
brush (a gun metal with some shining silver by
Army painter over the top) figuring - again - that
these would be recent, field appled,
replacements after damage.
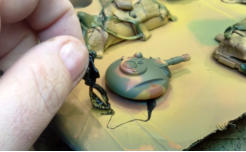
I painted some sensor domes and other details
liekthe fronts of the missiles in the boxes, using
mostly Army Painter paints.
I then painted, a commander for the hatch of the
Daedalus which was just a regular figure from
the spares box which I bisected with a pair of
cutters.
Then I added some scratches and rust to the
skirts and gave the whole of the vehicles a wash
with some Army Painter Strong acrylic wash
using a large, plat brush.
The original models (some of which I was
retaining) had been dipped in Army Painter
Strong Dip and I wanted to reproduce a similar
effect without the varnish (and smell). I also find
that the Army Painter dip doesn’t react well with
some of my spray varnish when used on big flat
surfaces (ie vehicles): it can ‘craze’. So I now
avoid it on vehicles.
When that was all dry, I dipped them in a light
black ink and Future (floor wax) solution. And
when I say dipped I mean that: the fluid
decanted into a big plastic cup, latex gloves
donned and then the models dunked and then
set aside to dry propped off of the surface so
that they don’t stick to it.